Most-loved products

Versatility, longevity, and style define the new ‘Suzy Hoodless for Drummonds’ collection, which is comprised of two beautiful wall lights and one sleek mirror design. Working closely with Drummonds, Suzy’s ambition was to create a collection that would stand the test of time and sit well within a variety of interior schemes, bridging the gap between the classic and the contemporary. The range combines artisanal craft processes with modern shapes, materials and finishes to offer the ultimate aesthetic in luxury bathroom design.
Discover More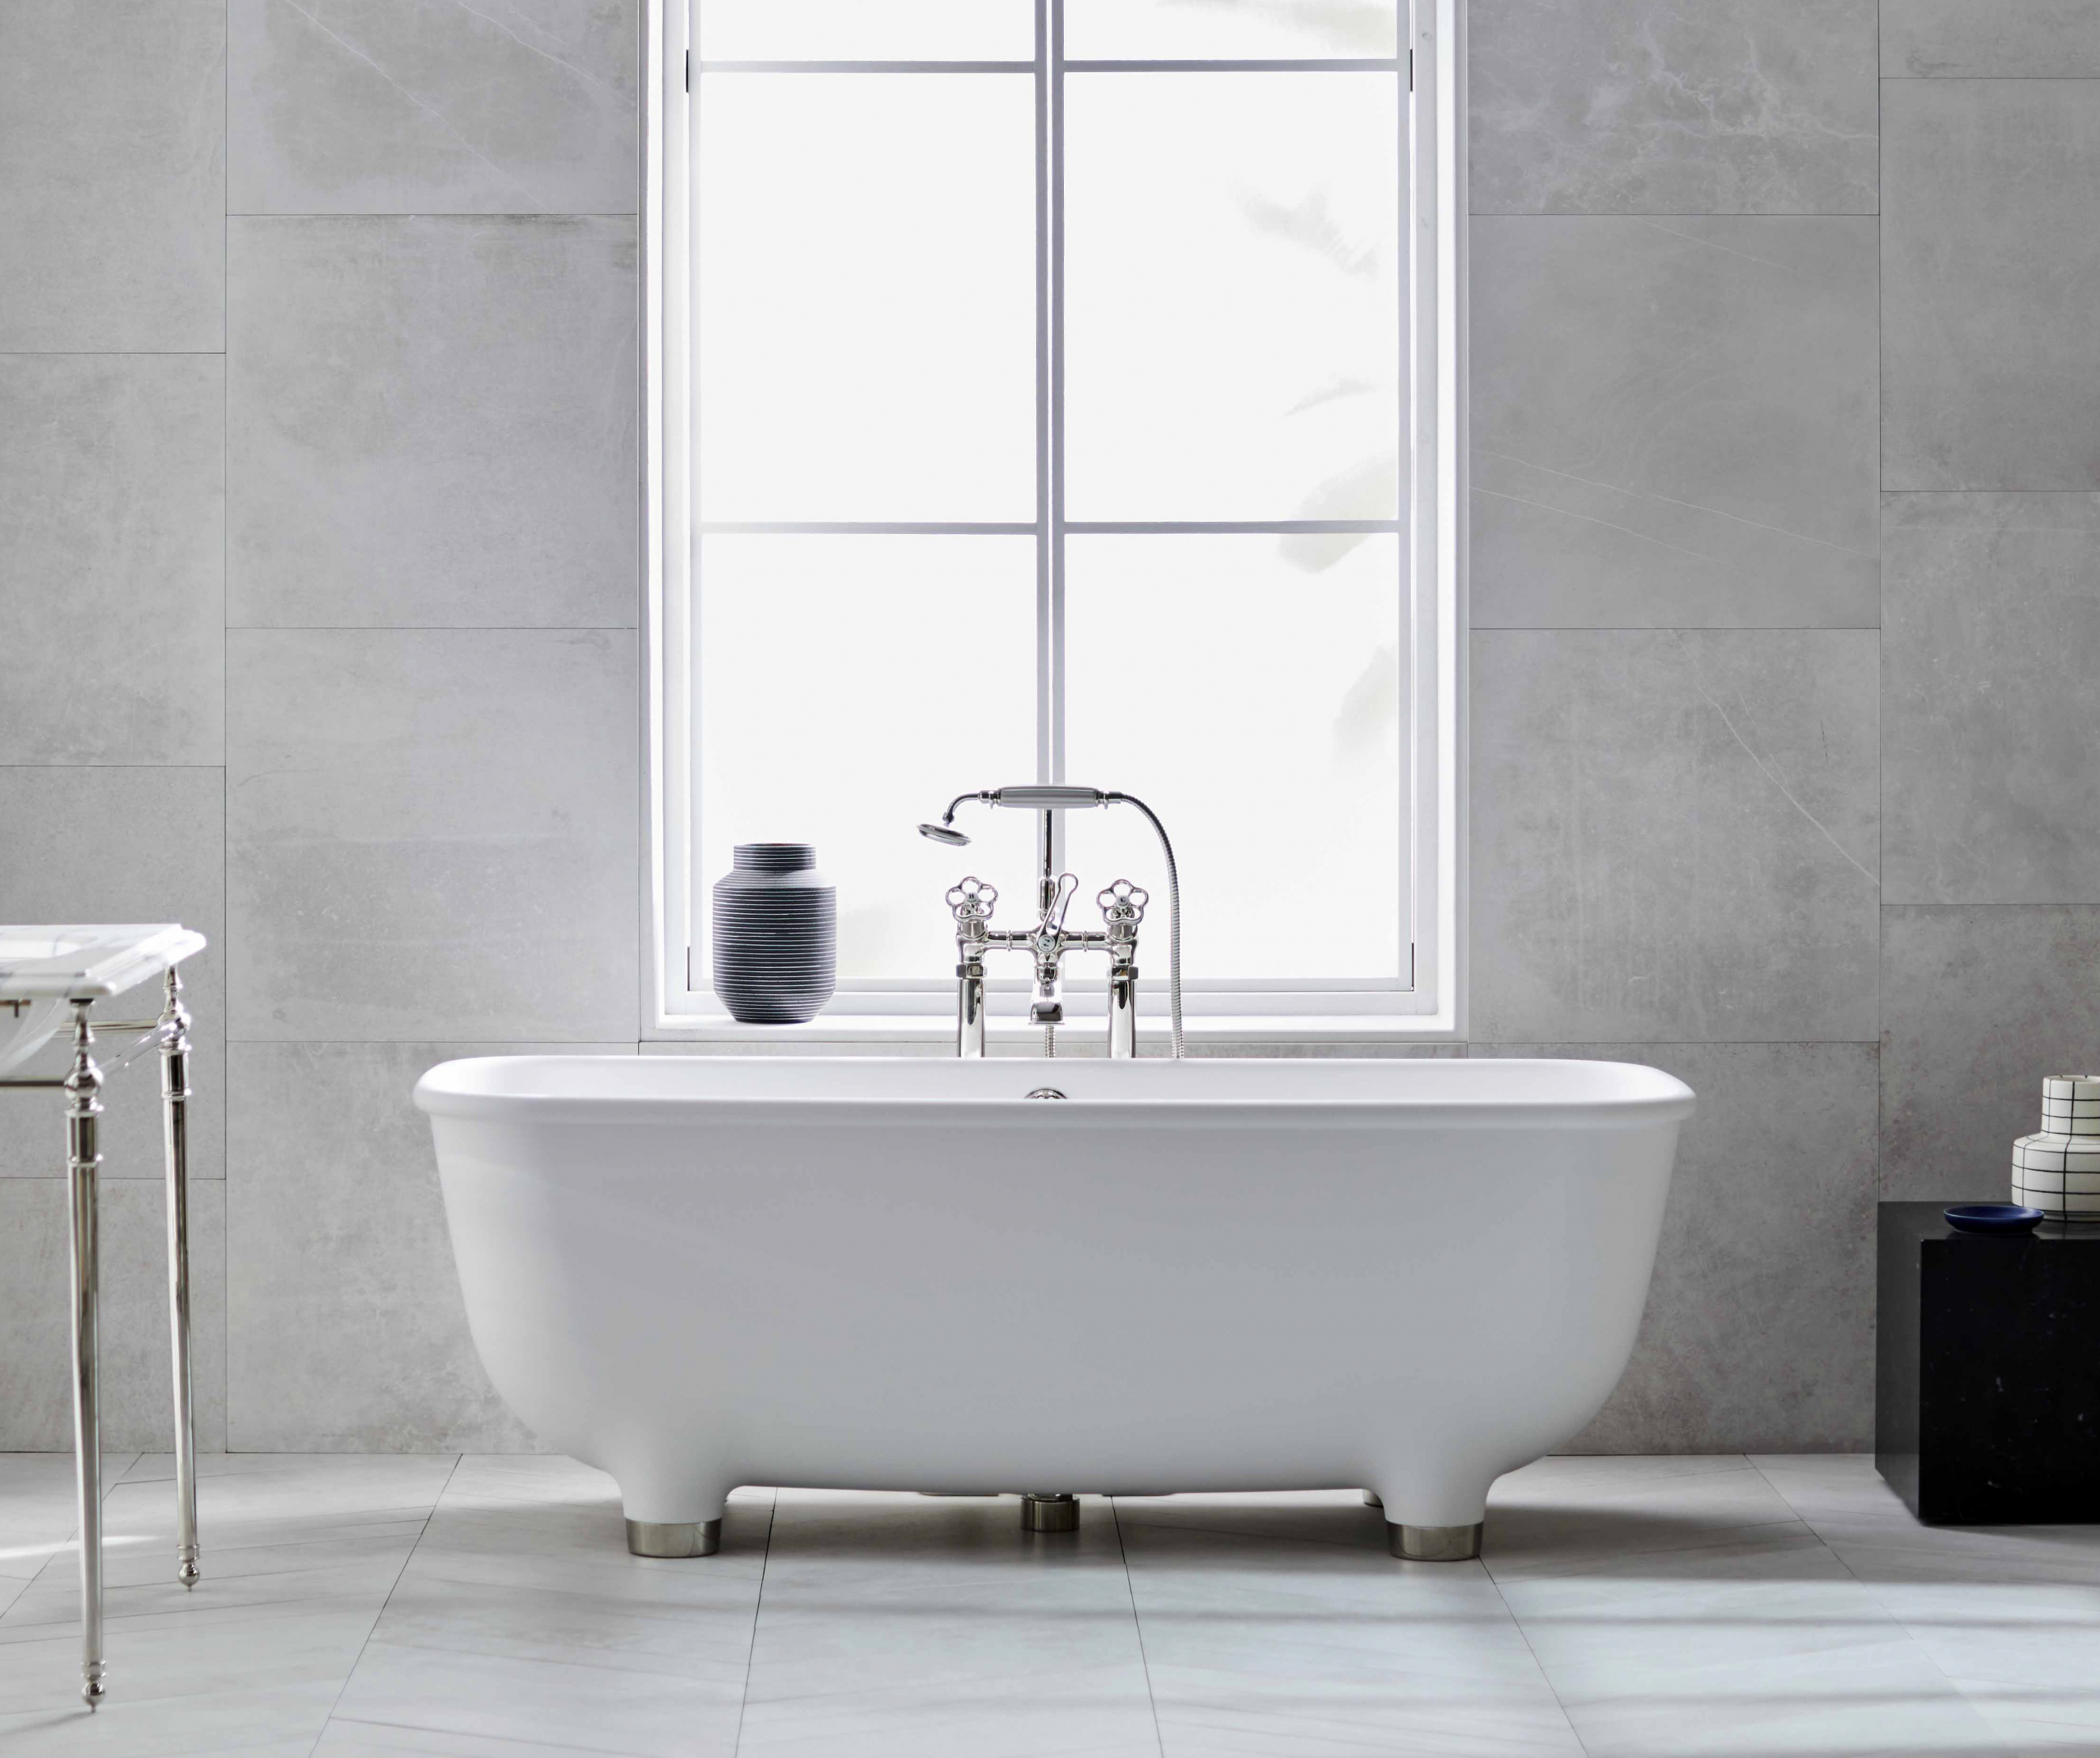
Years in the making, the ‘Marc Newson for Drummonds Collection’ is an exciting new design collaboration between luxury bathroom manufacturer, Drummonds and multi award-winning industrial designer, Marc Newson. Born out of Marc’s love and admiration for Drummonds’ classic English style, as well as their artisanal approach to the manufacturing process, the collection showcases an inspirational and refined array of products, including a spectacular freestanding bath, shower controls and a range of taps and mixers.
Discover More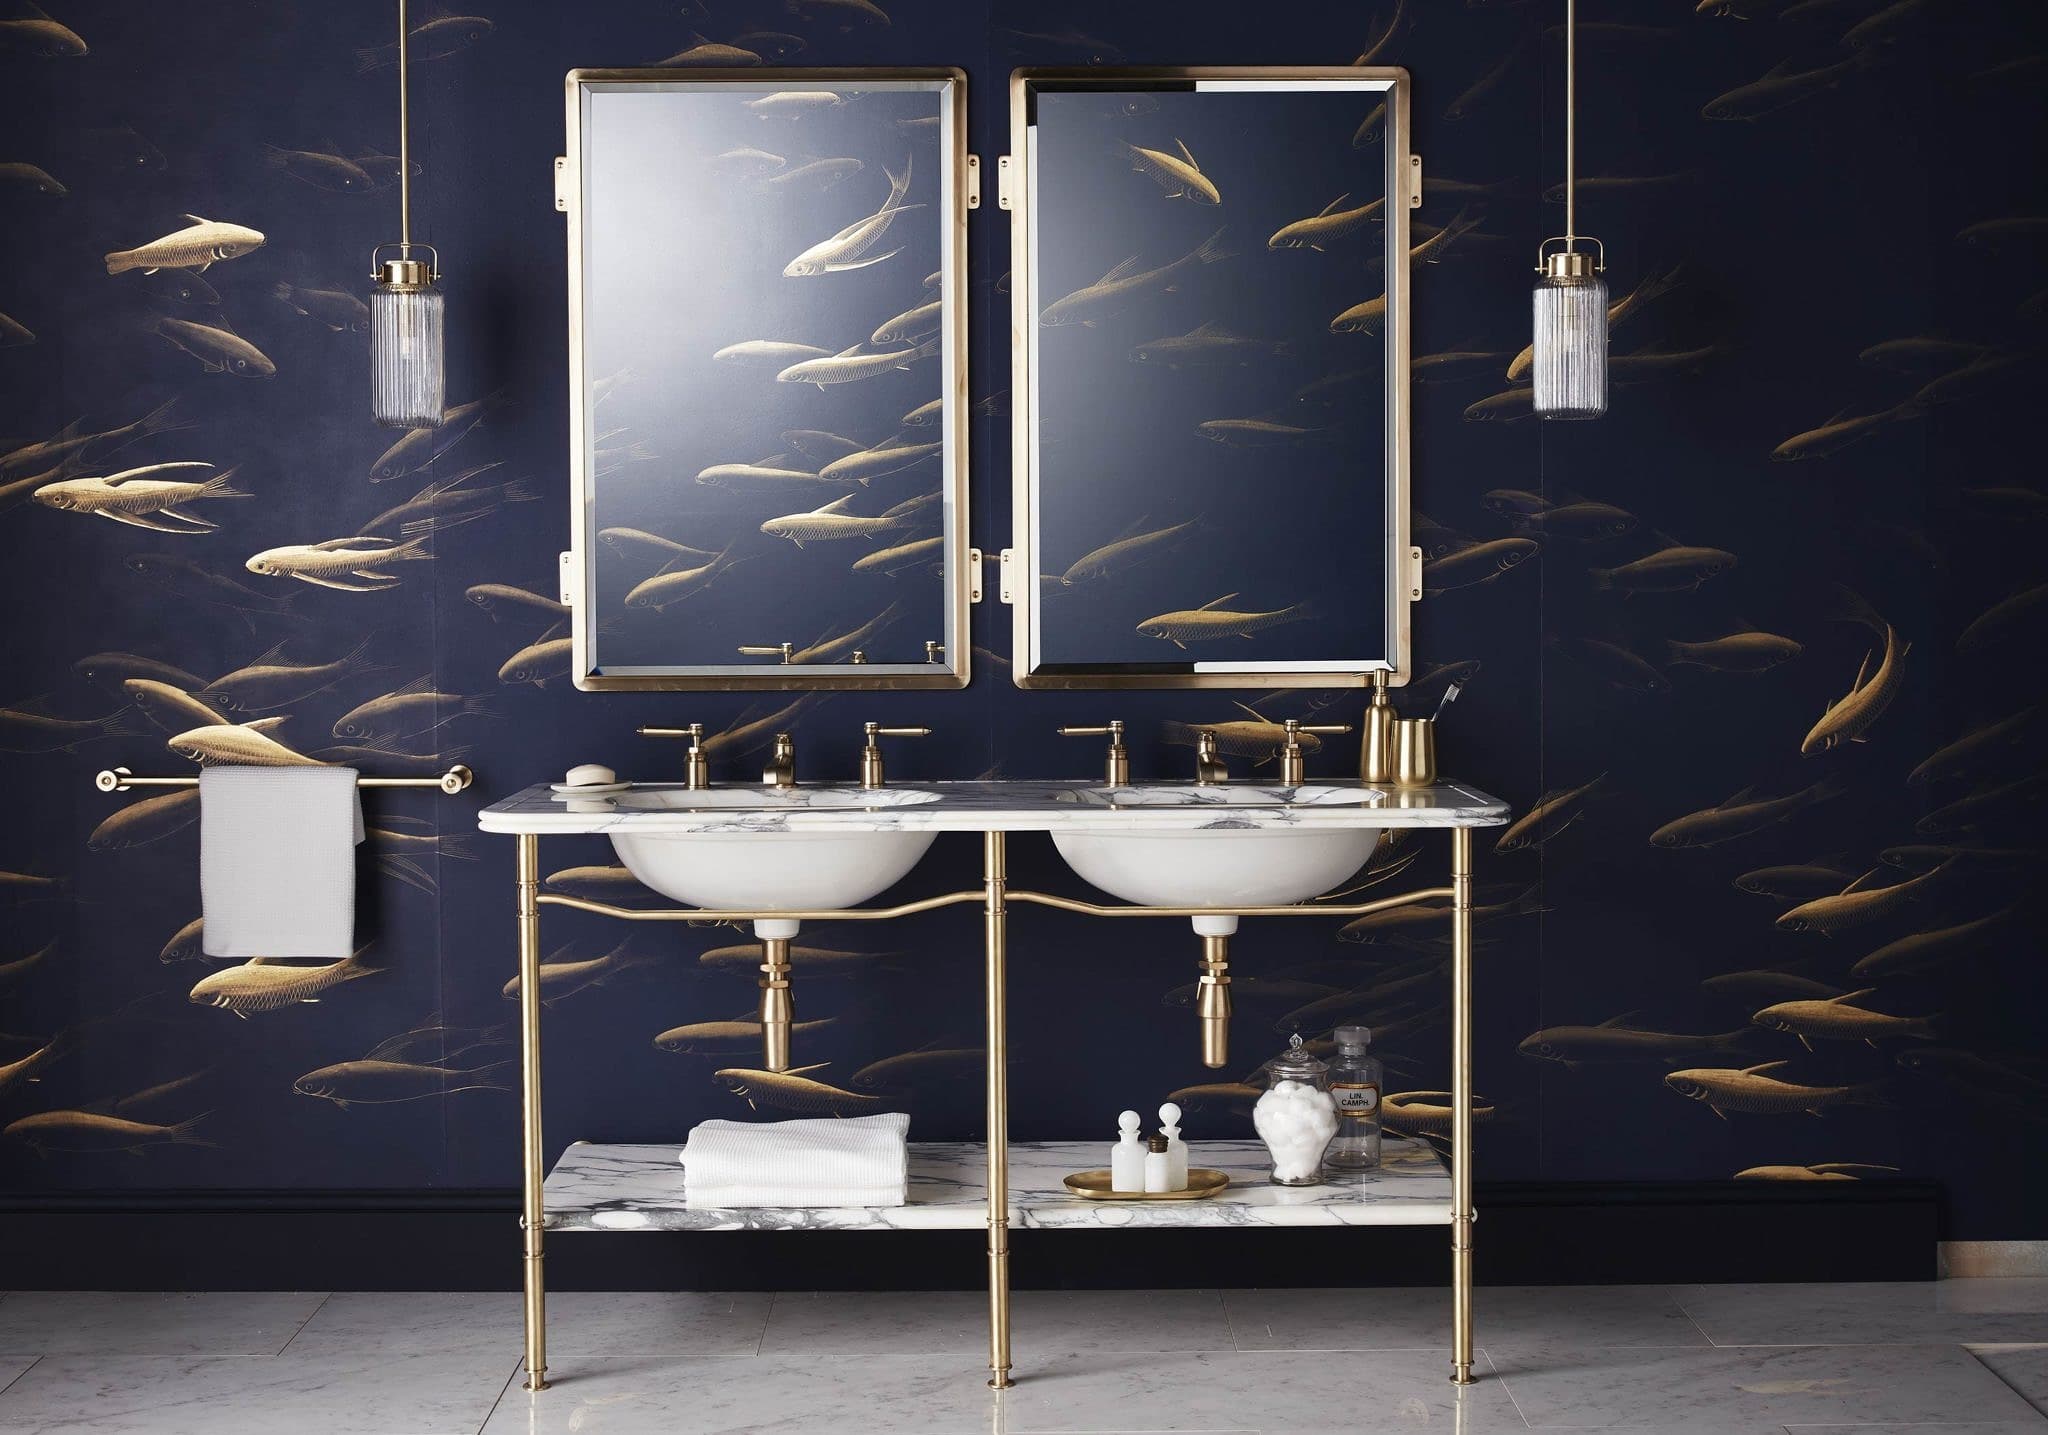
Blending an engineer’s sense of functionality and an artist’s appreciation of form, Martin Brudnizki's contemporary take on traditional design moulds perfectly with Drummonds’ classic, handmade luxury bathrooms. We are proud to feature this ever growing collection of timeless classics, designed with consideration to work seamlessly in most bathroom designs.
Discover More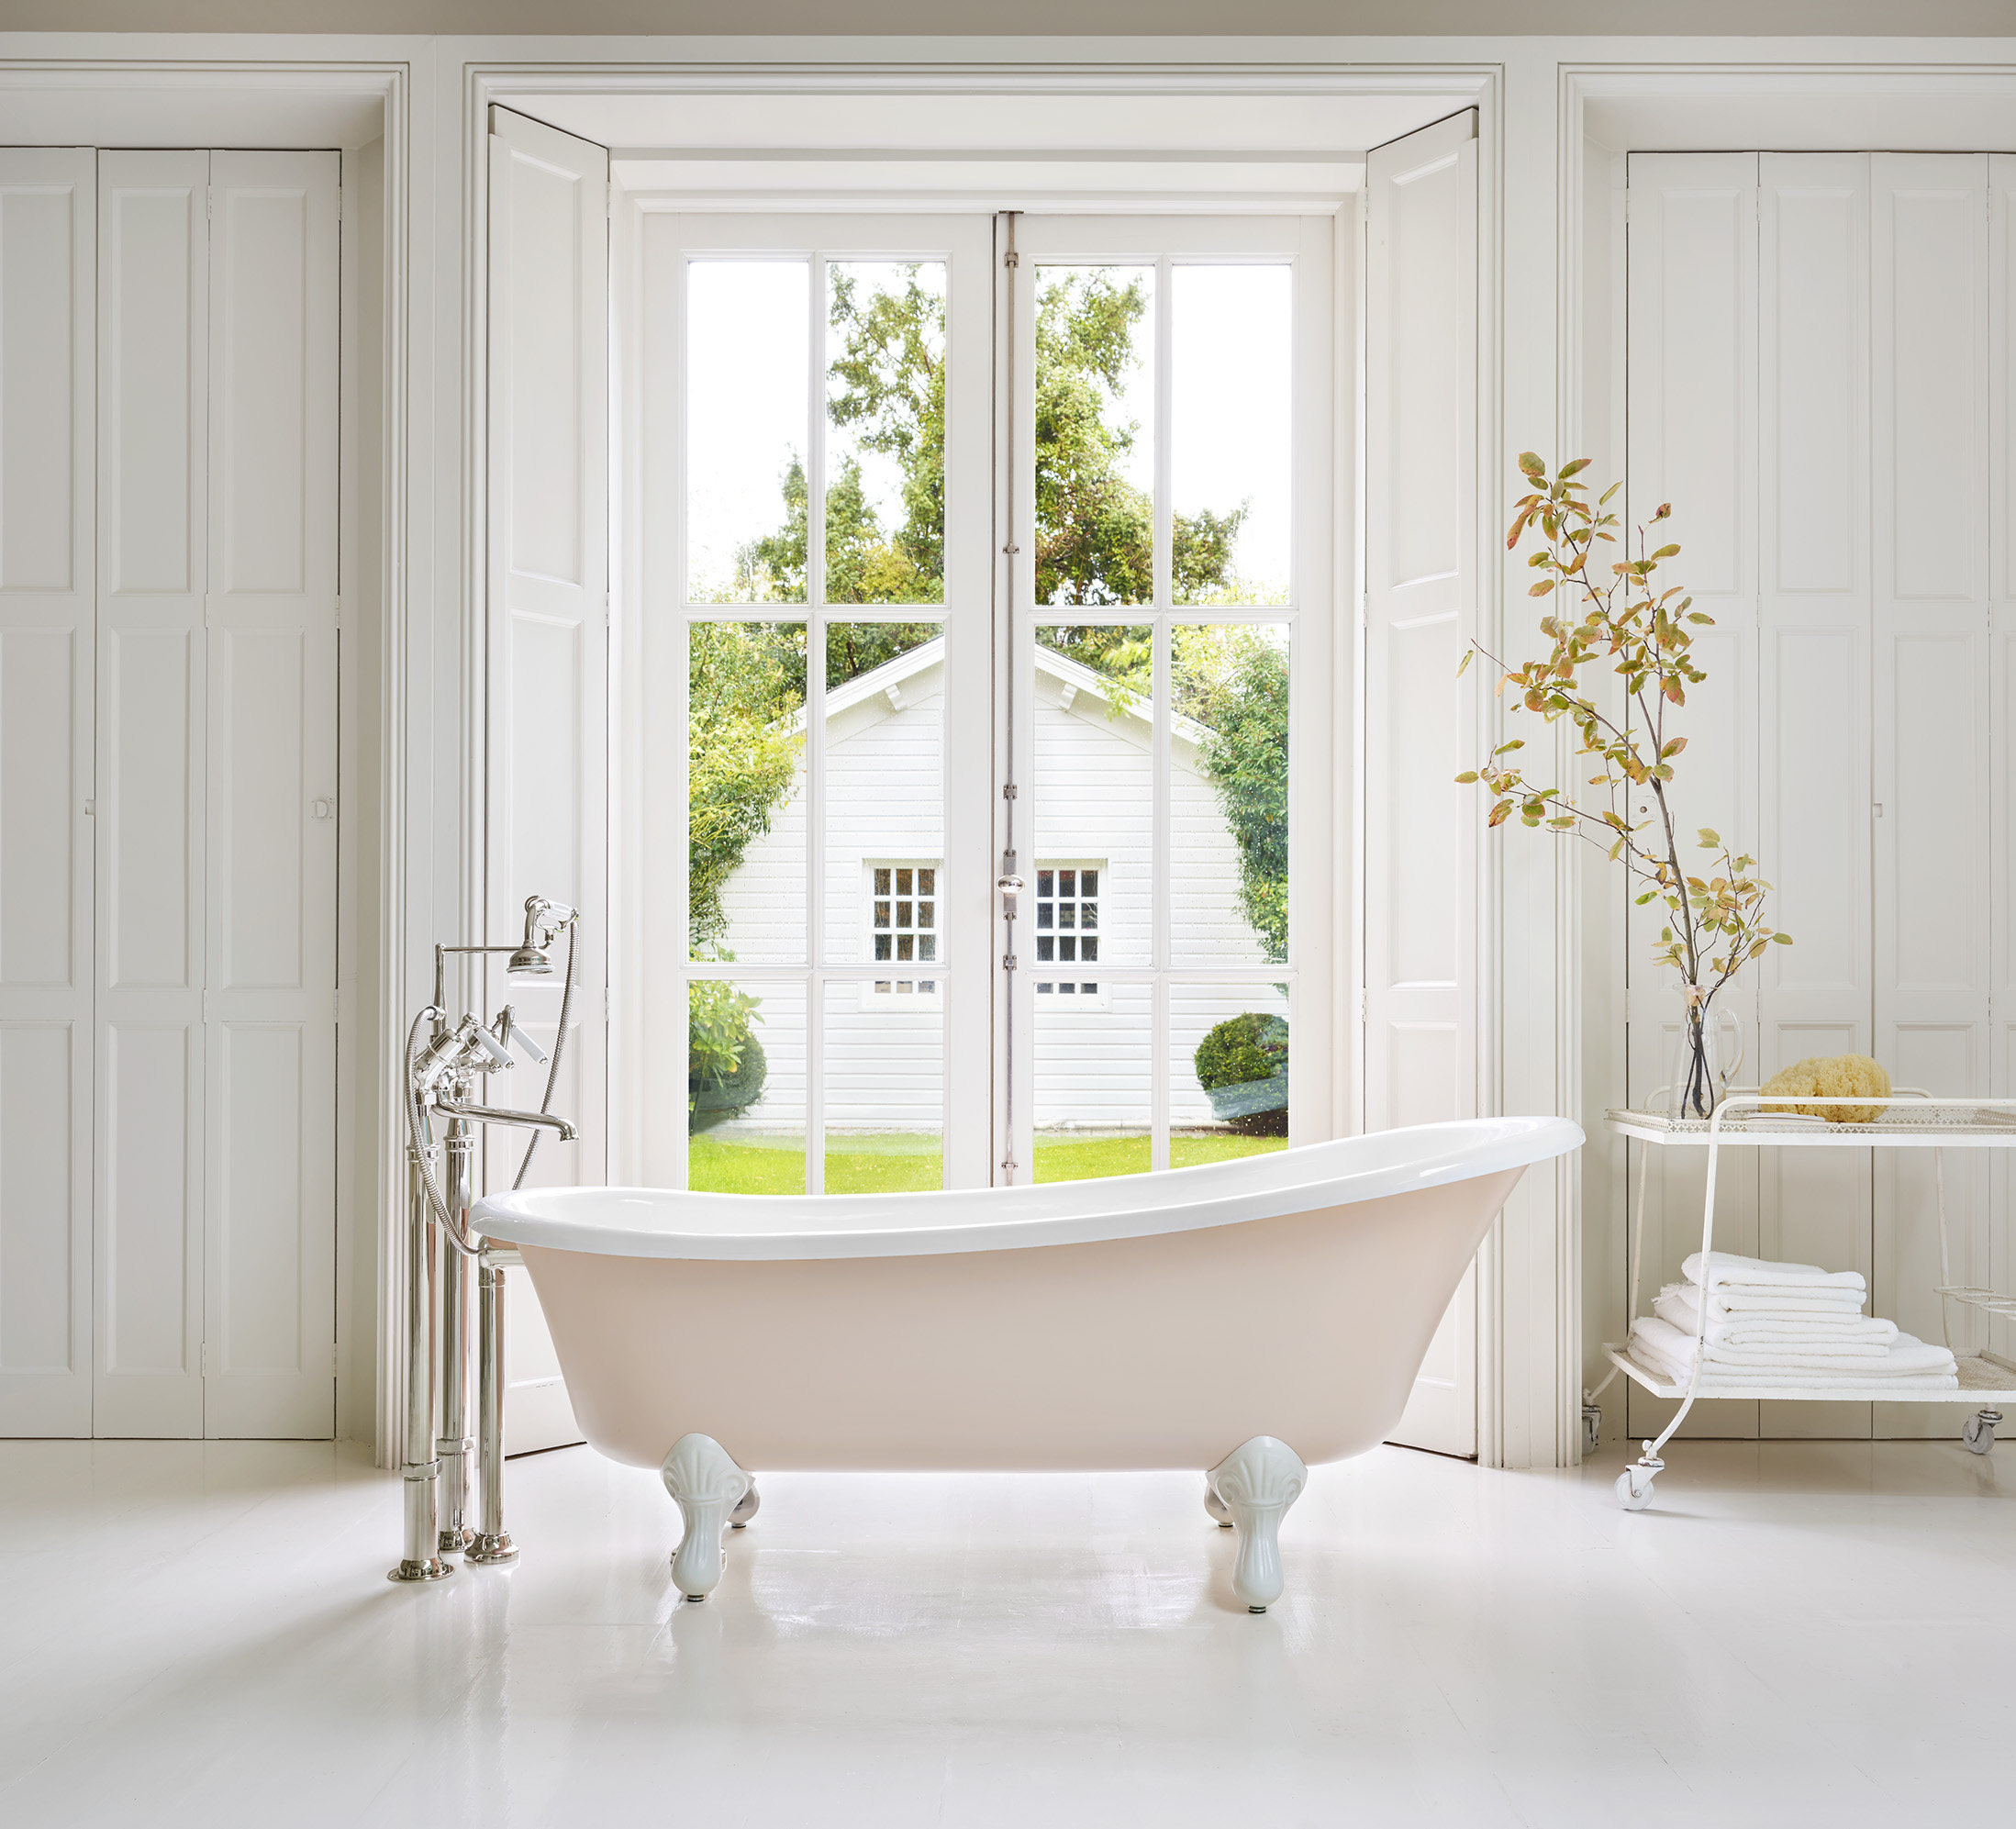
Drummonds has launched a design collaboration with interior designer Susie Atkinson, the name behind many award winning international projects. The new Whitewater Bath is a refreshing reinterpretation of the classic cast iron slipper bath.
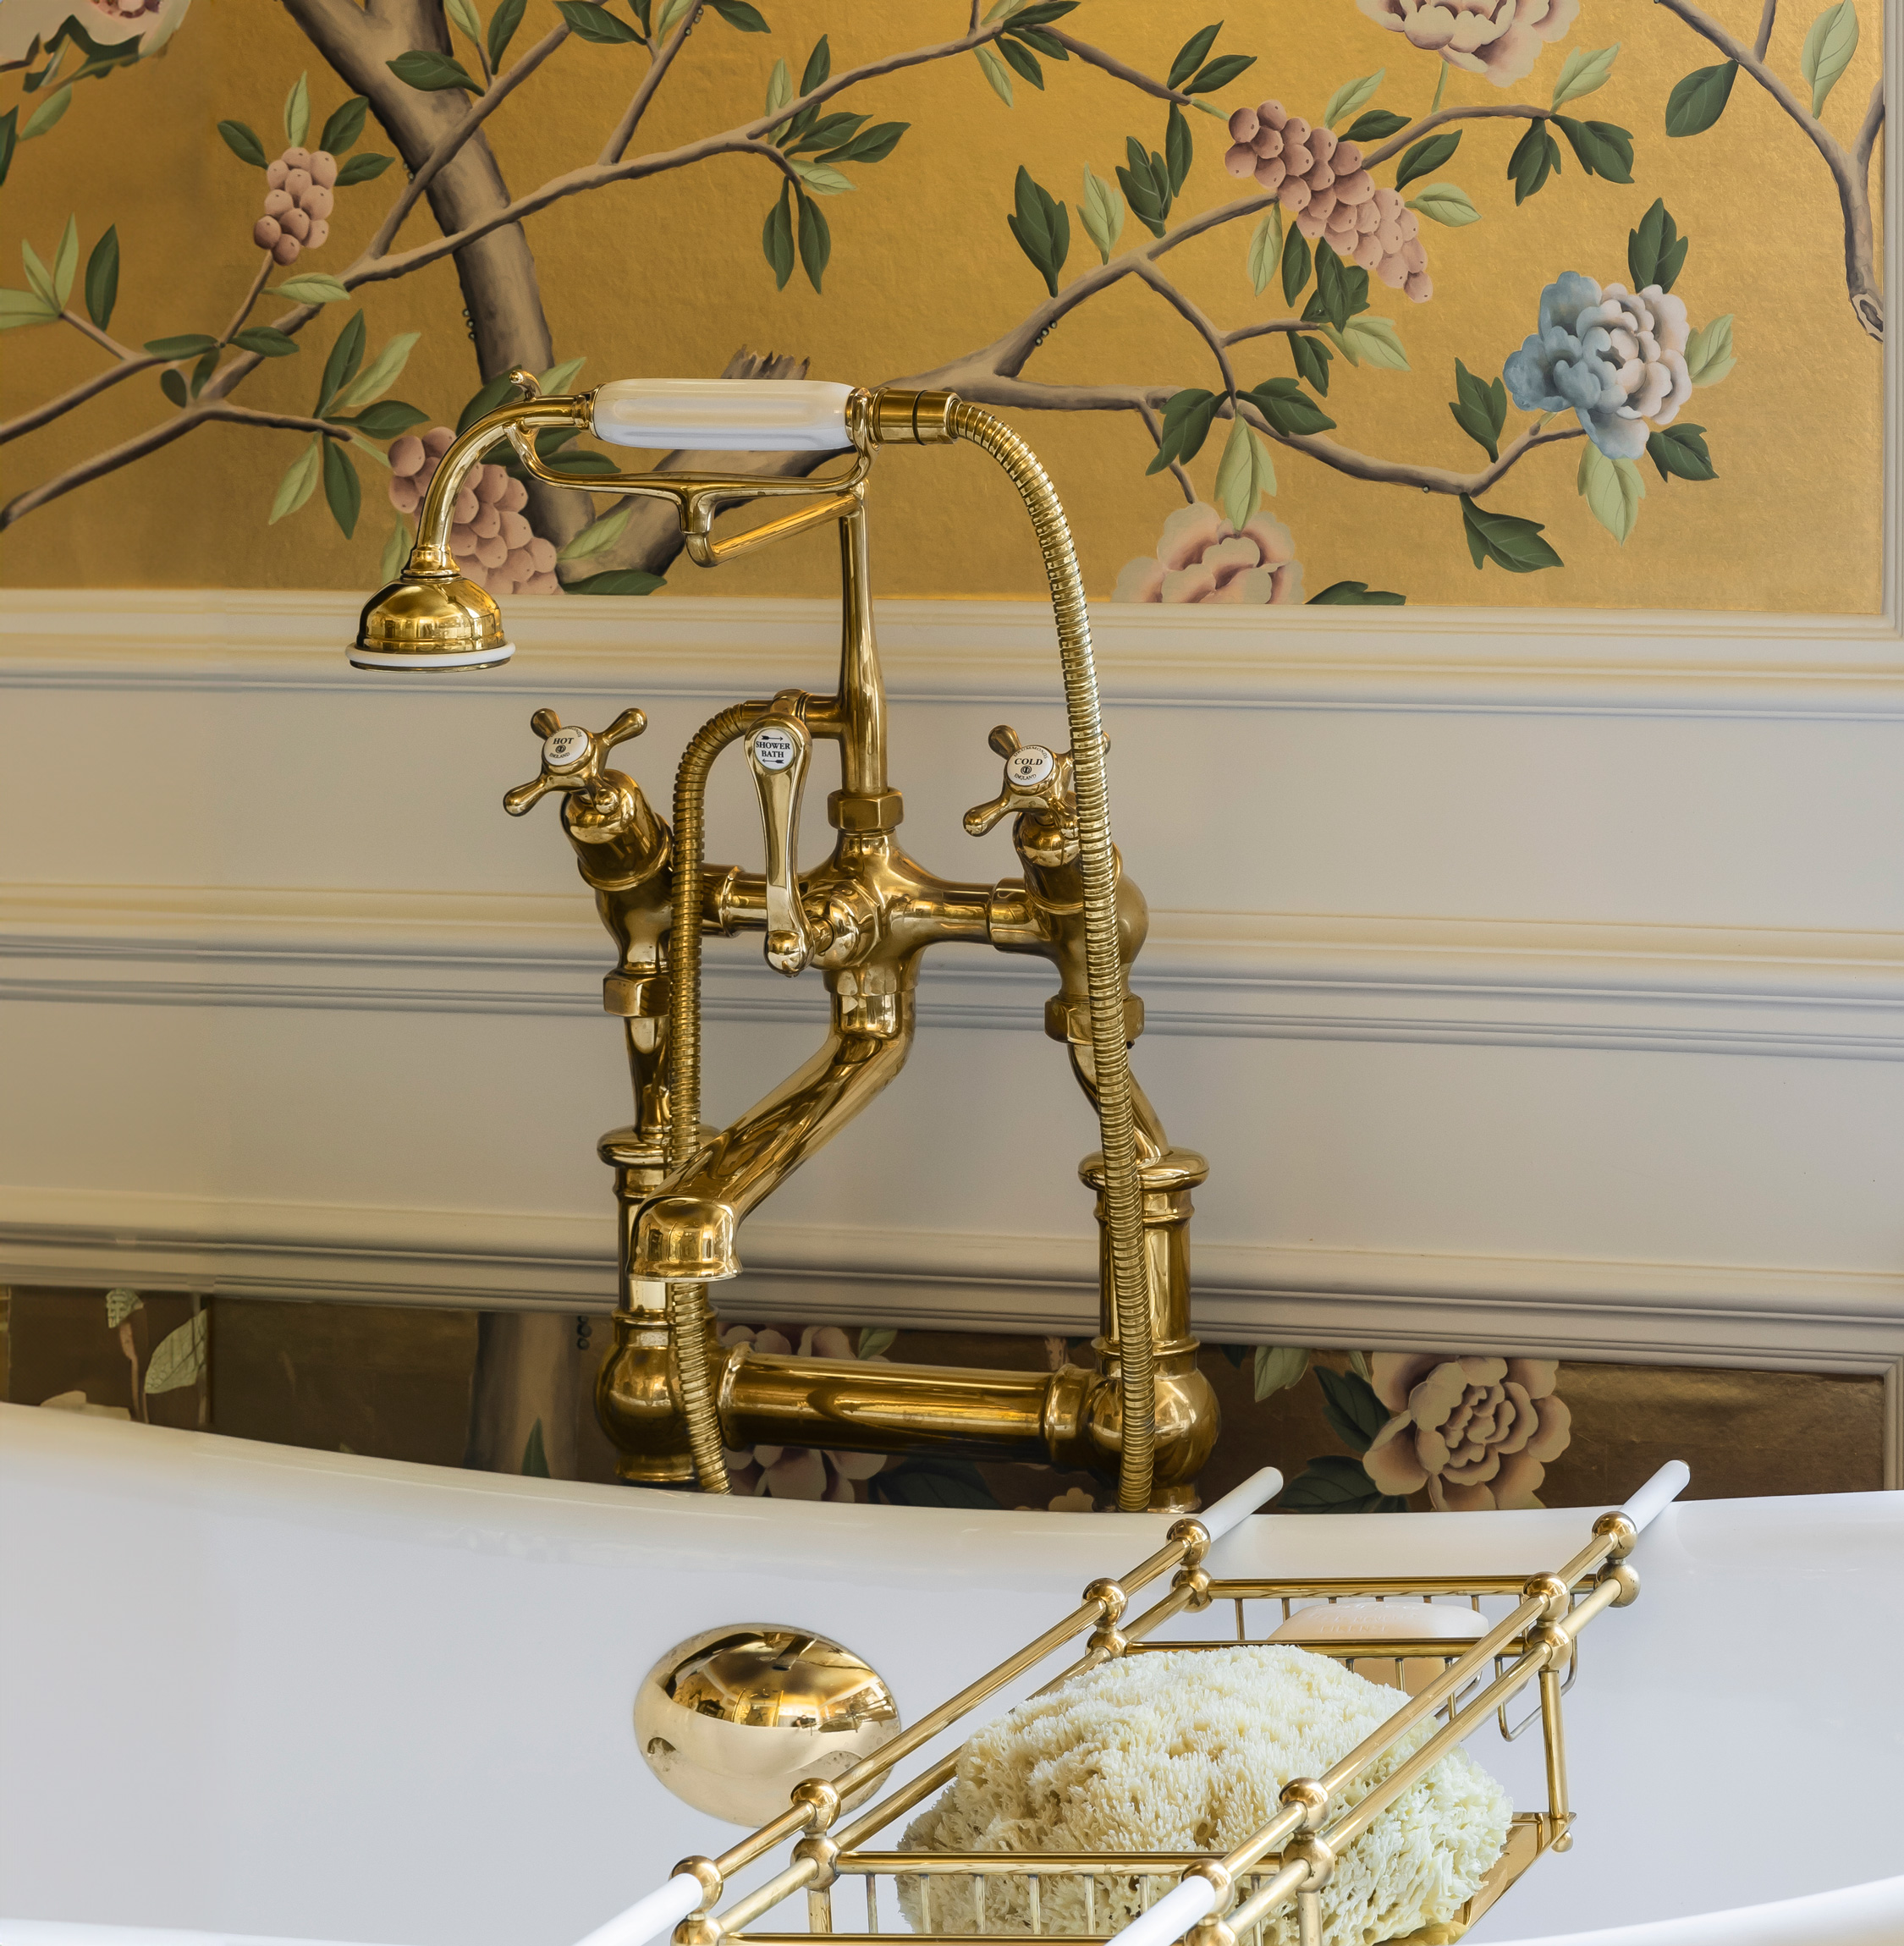
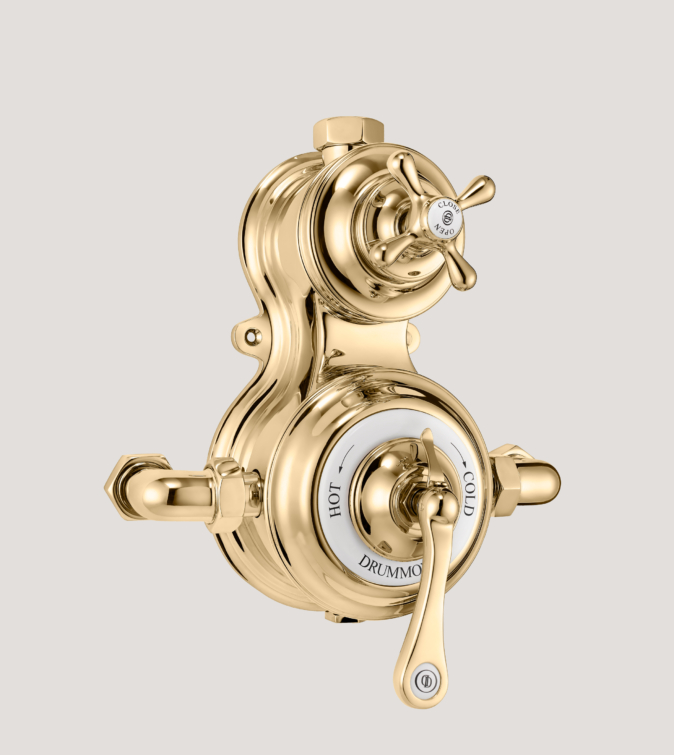
One of our original brassware ranges, along with the Coll. Truly classic but at home within contemporary and traditional settings.
Discover More
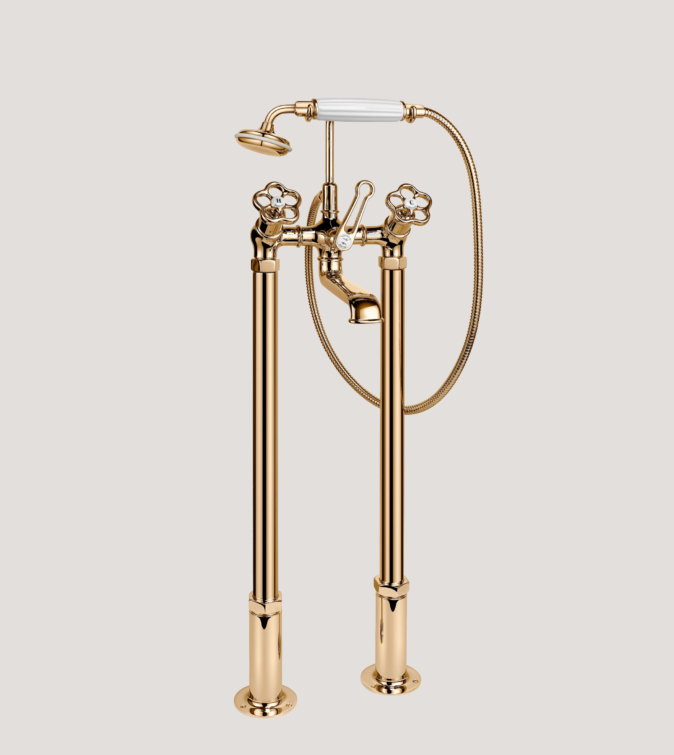
One of our original brassware ranges, along with the Mull. Truly classic but at home within contemporary and traditional settings.
Discover More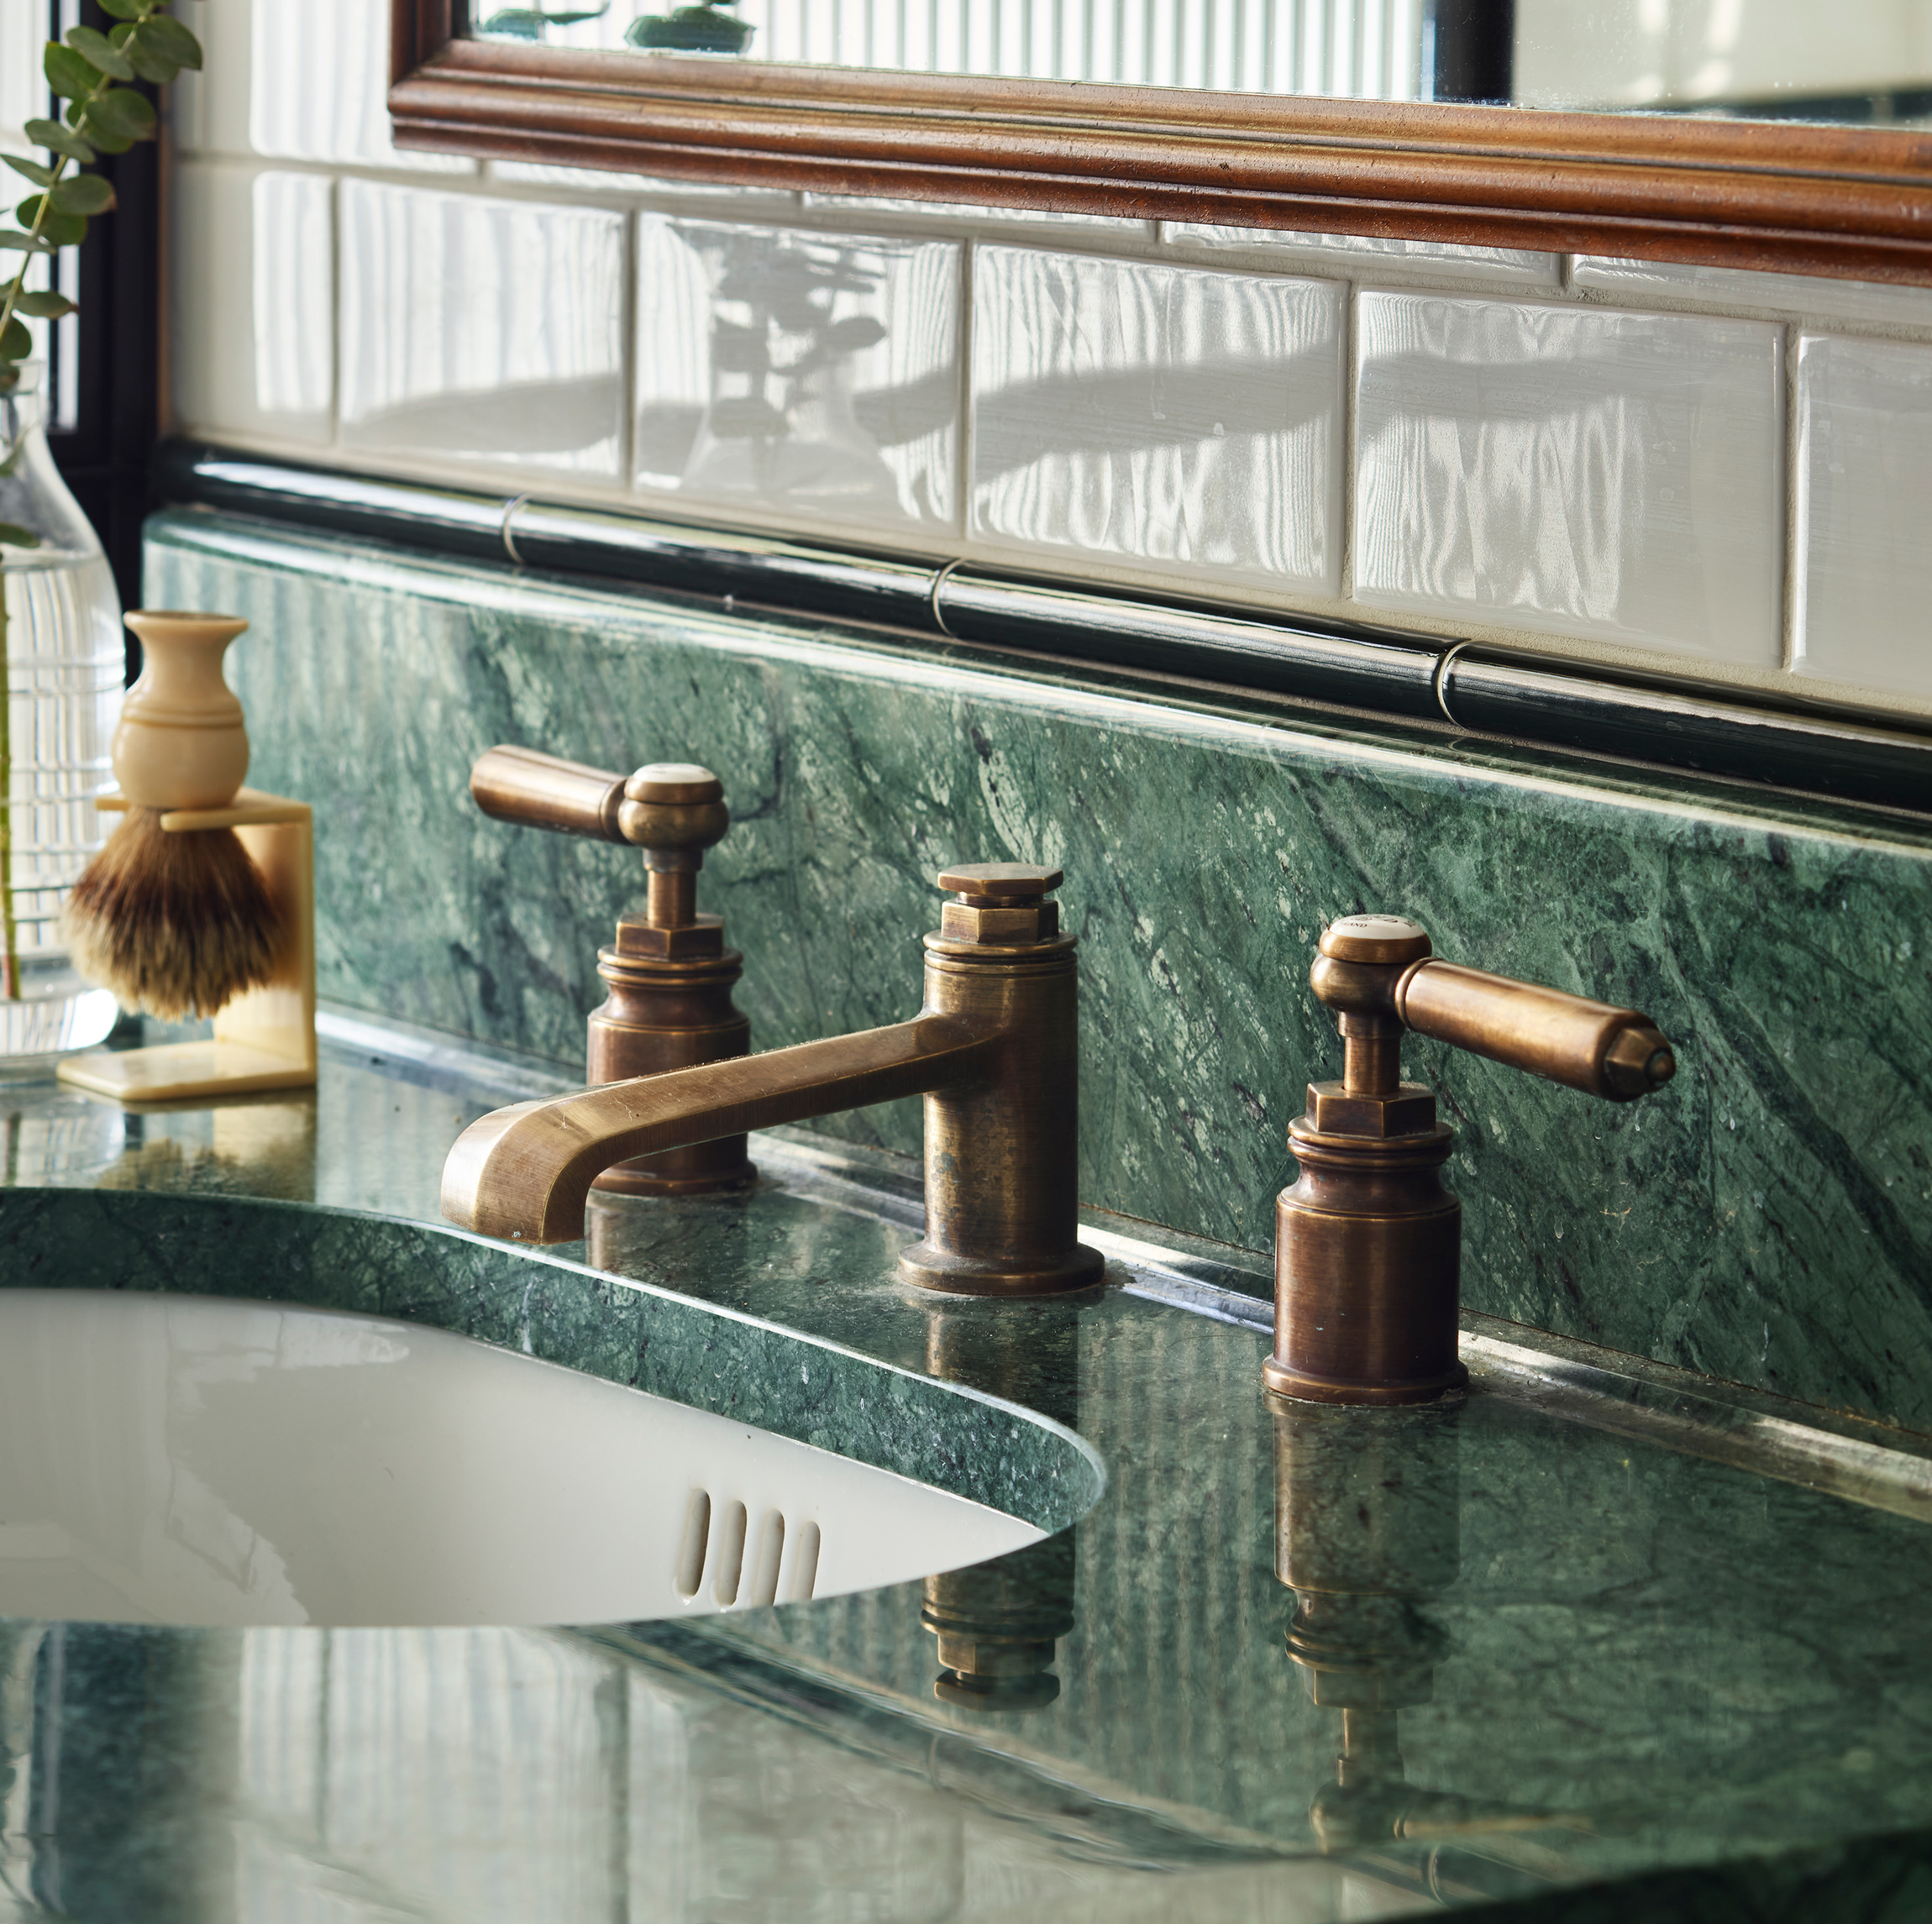
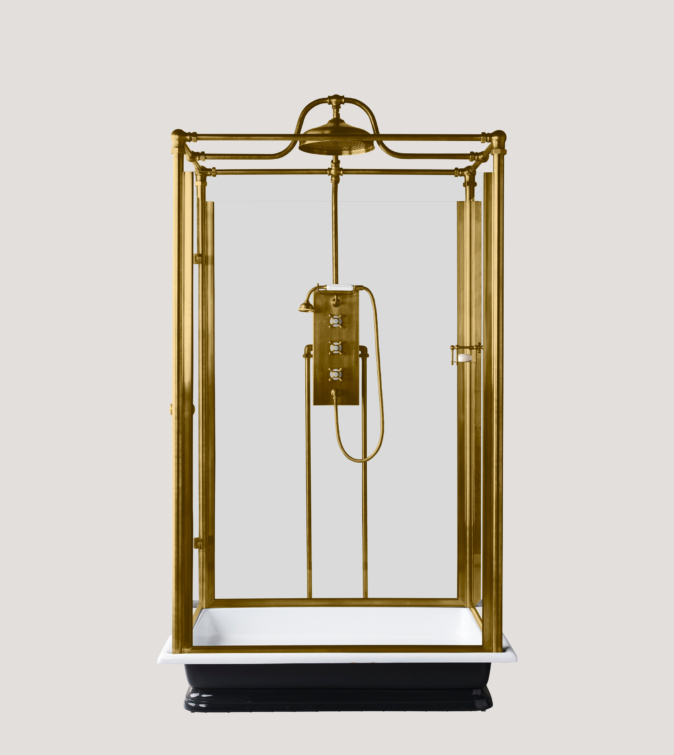
Designed to bring the timeless elegance of the Art Deco period to your bathroom, our stunning Chessleton collection features angular yet elegant designs with products that have been cast by hand in solid brass to ensure the highest quality.
Discover More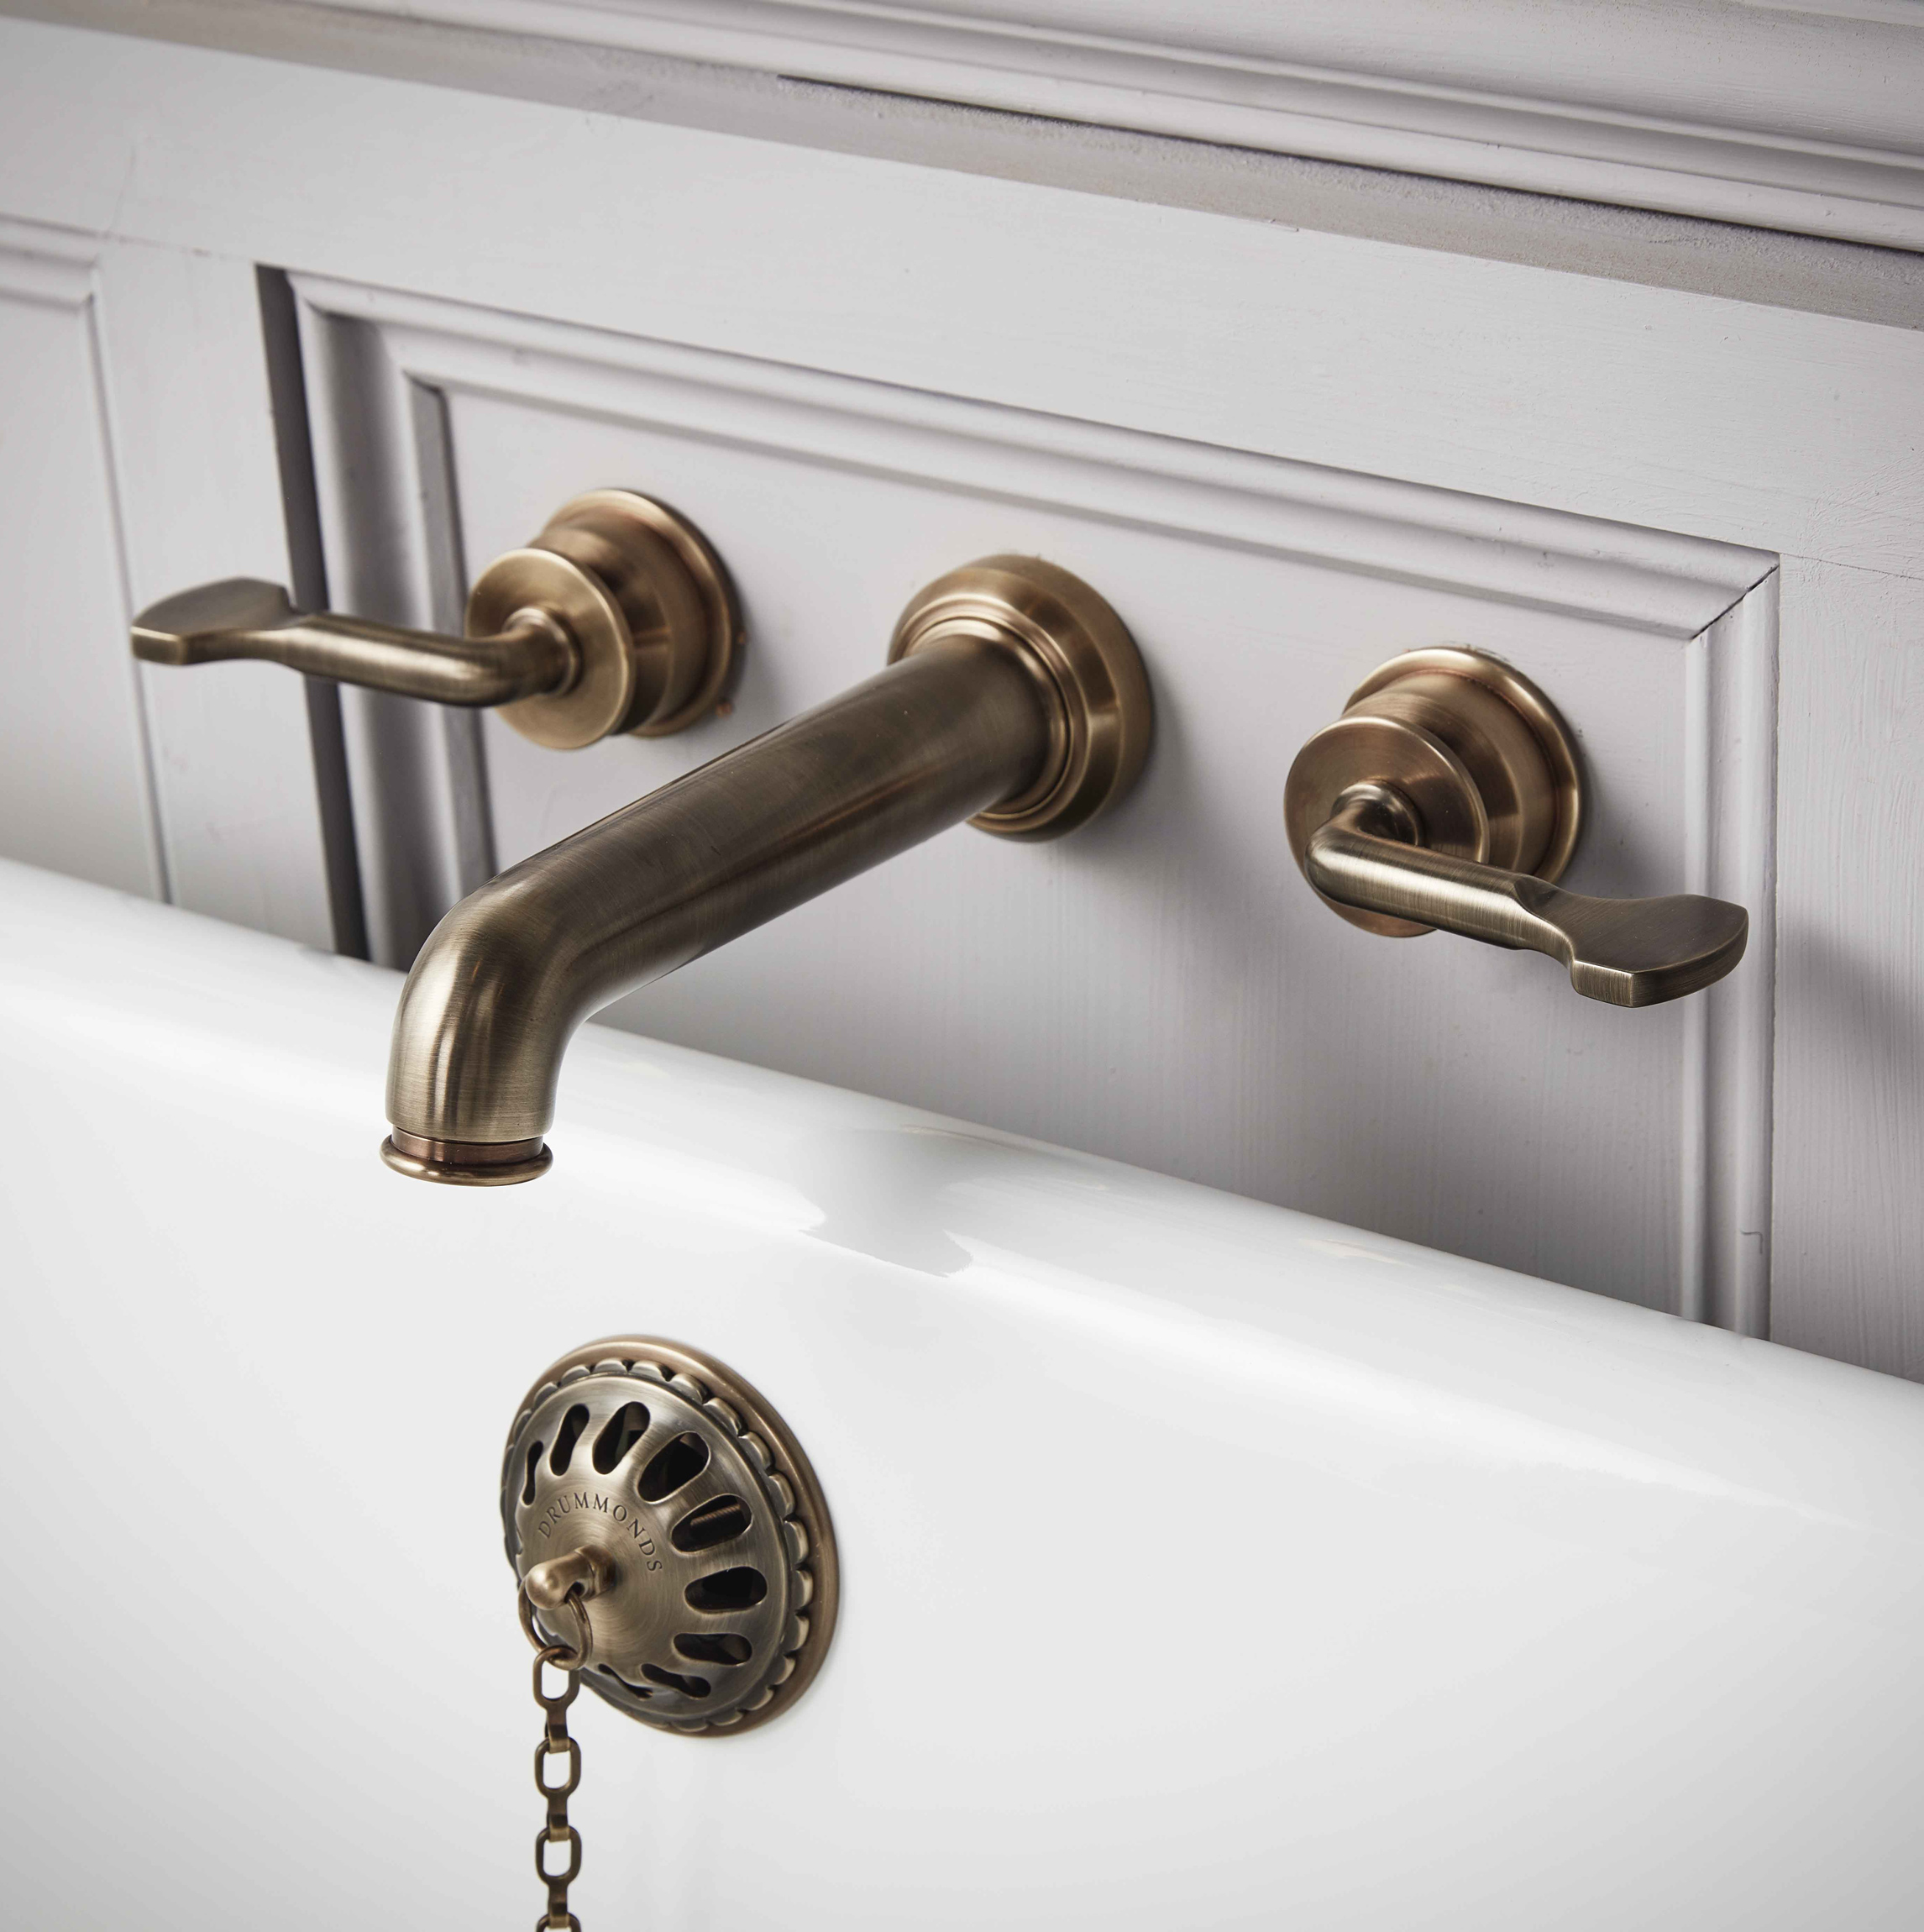
Ergonomically assessed hallmark flattened end lever controls, derived from careful observation of how tools developed to comfortably fit the human hand. Designed by Martin Brudnizki’s as part of an ongoing collection that offers timeless design with a contemporary focus.
Discover More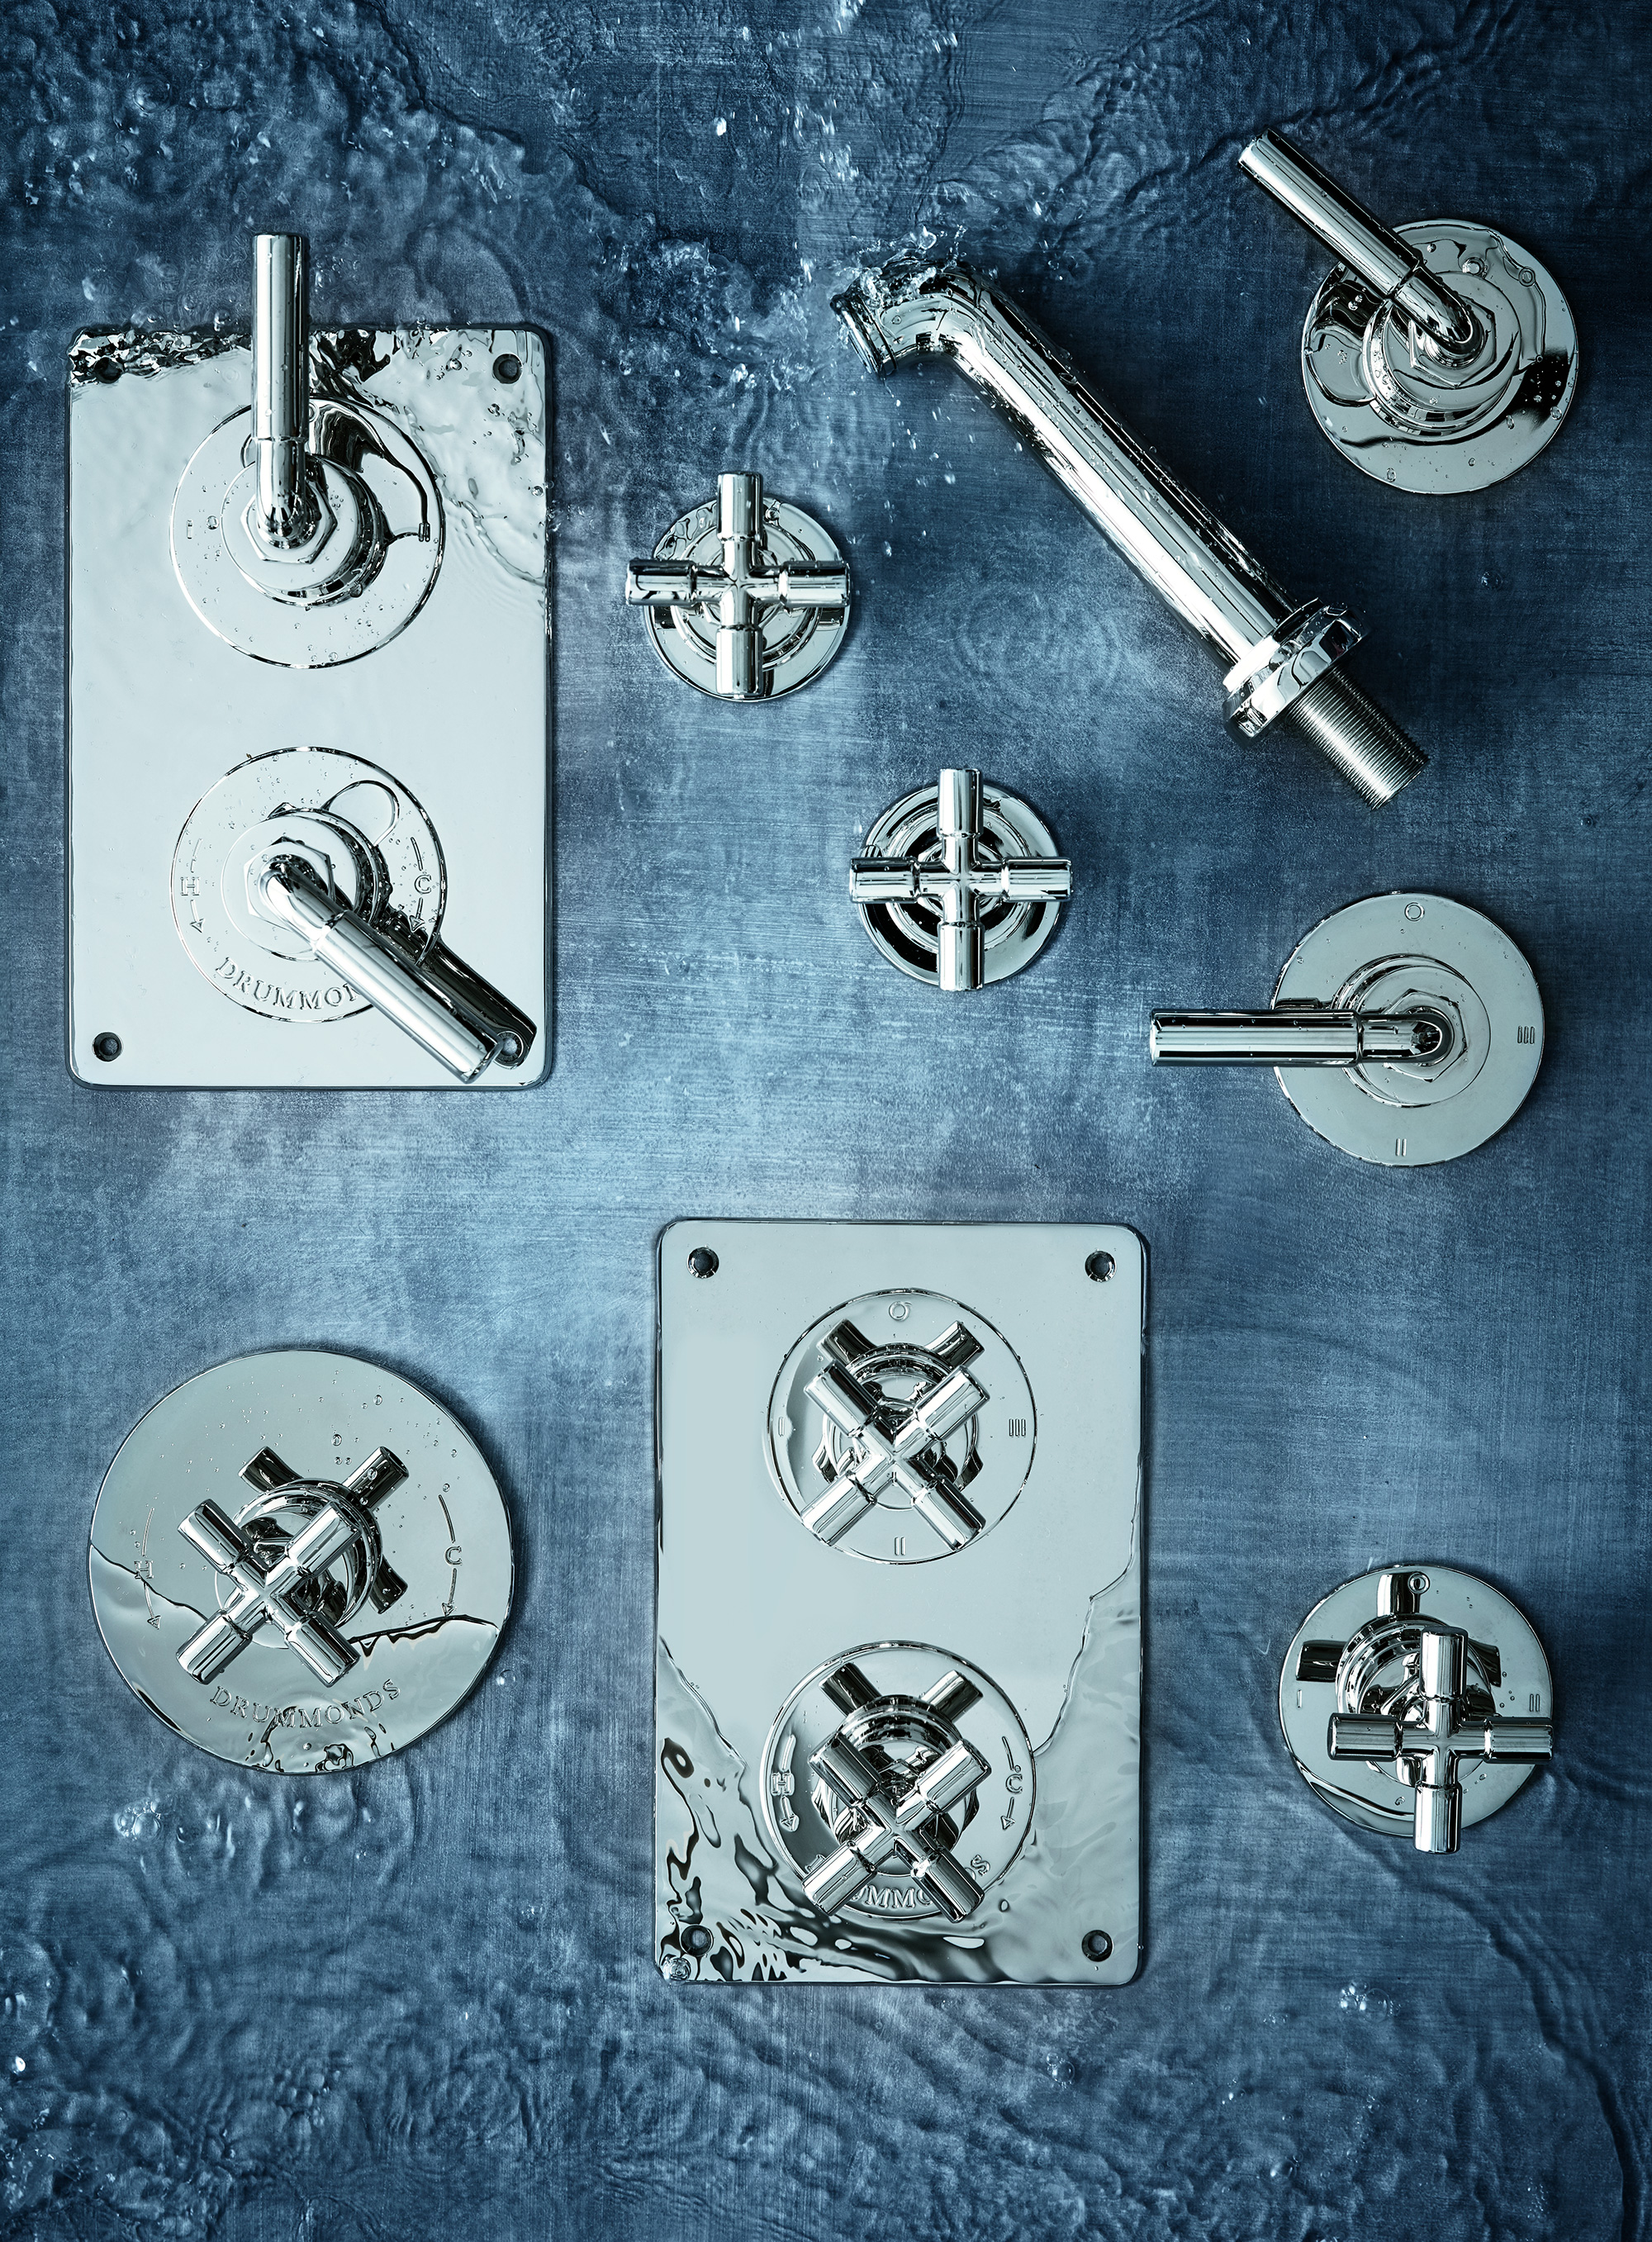
The Bestwood Collection is an ongoing collaboration with Martin Brudnizki, featuring edgy, modern designs for basins, baths and showers. Cast in solid brass, using the traditional lost-wax process, its shapes reference machinery controls and industrial joinery such as water and gas piping, connecting pieces and traditional plumbing ware.
Discover More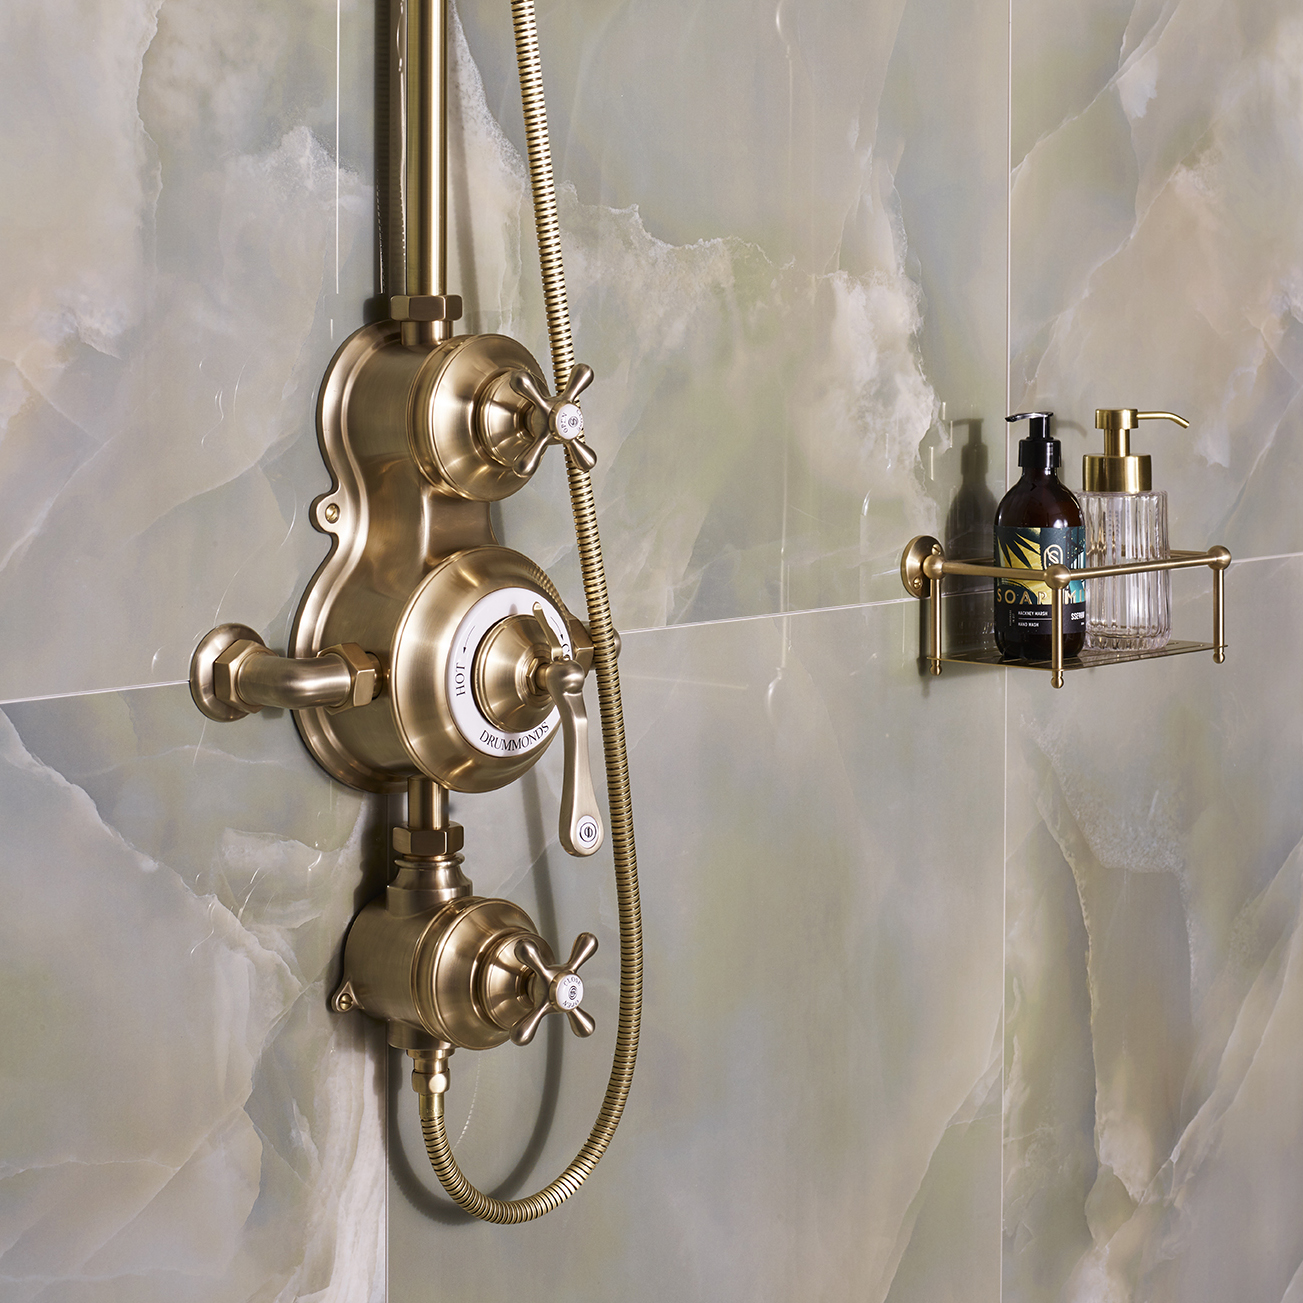
Over the years I have found some beautiful antique bathroom pieces. Some are so unique that they have been impossible to replicate, however others have provided the inspiration for us to go forward and design wonderful new bathroom products. <p style="text-align: right">- Drummond Shaw</p>